Repairing the power button on a WonderSwan Colour
Tags: console wonderswan bandai repair
When I made a trip to Japan recently, one of the things I was looking for was a Bandai WonderSwan Color. I’d had a black and white one previously, but the colour version can run so many more games. Games I can’t understand, but it’s most of the way there.
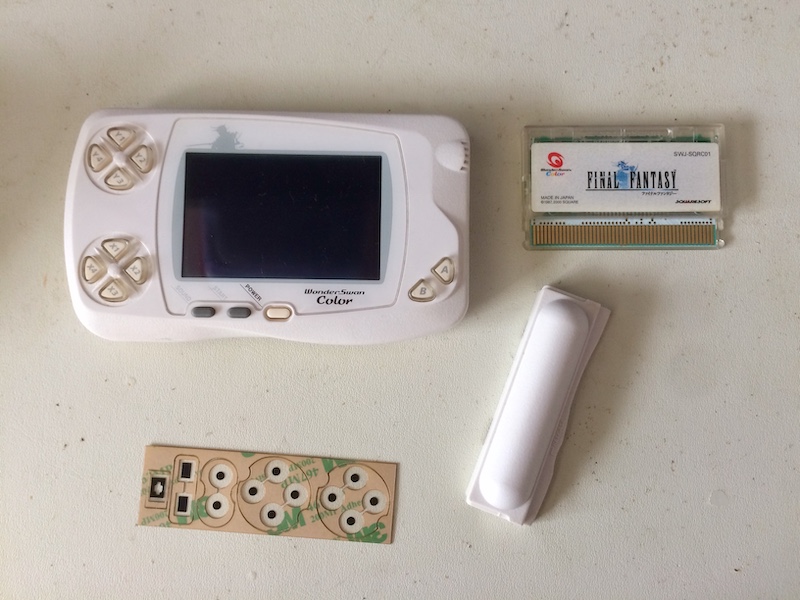
I found this Final Fantasy edition WonderSwan Color for ¥1500 at a retro game store in a suburb of Osaka. It was in a junk pile with a bunch of much cheaper broken Nintendo DSes, and the clerk told me that it didn’t boot games or even power on. I’ve fixed worse, I lied to him, and then handed over a pocket full of yens.
When I got back to my hotel room, I found out he was right. It didn’t power on, even with a game inserted. The internet told me that the problem was almost certainly a fiddly contact on the power button, and that it eventually happens to all of them.
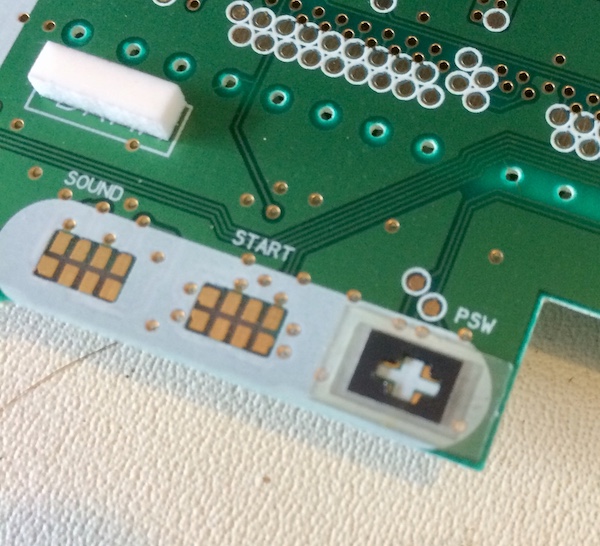
According to internet scuttlebutt, Bandai made a design change at the last minute. This change converted the power button from a soldered-on “hard” button to a TV-remote-style “soft” membrane button, and they didn’t do a particularly good job at the conversion (the B&W WonderSwans use a sliding switch, like an original Game Boy, which also gets dirty - but can be easily cleaned). The resulting gaps on the board contacts for the power button are too wide to reliably work.
After probably hundreds of attempts, one of my power button presses did fire up the console, which proved to me that at least the damn thing worked! I would need to open up the machine and do some work to make this more reliable. Based on the grungy feel of the button, I suspected there might be a bit of a spilled sugary beverage involved as well.
I was in luck and found that a vendor named P1Repair made a custom button repair kit just for the WonderSwan. Seems that they normally do repair kits for expensive TV remotes like the Logitech Harmony, but in this case they saw a problem and stepped up and fixed it. For $6 USD plus shipping, I’m definitely not going to try and reinvent the wheel myself. There’s even a great install video. Huge kudos to this crew.
It’s always nice when a problem is already solved for you. All I had to do was wait for the mailman, then slap on these little stickers to get my WonderSwan to work reliably again. The total cost for this whole adventure is $30 Canadian, which is much less than you’d pay for a broken black & white WonderSwan on eBay.
Doing the repair
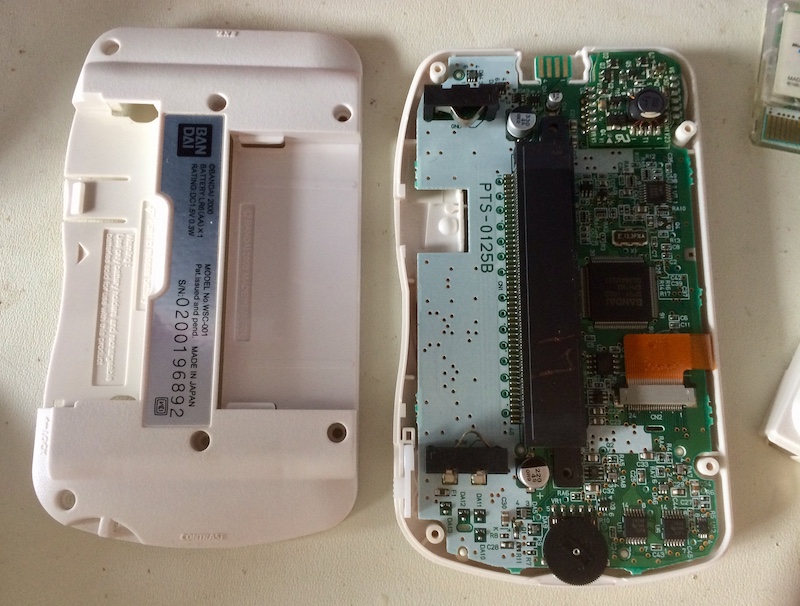
Since these were built on the cheap, there’s not a lot of complex stuff going on here - just good old design for manufacture. It’s basically a single large main PCB, sandwiched by the LCD and the two case halves.
Once I’ve removed the AA battery holder (yep, it only needs one battery), and the game cartridge, it just takes a Torx driver (I used T-6; seemed to fit) to pop it open. There’s little tabs at the bottom of the case that the whole thing hinges open on, so be careful if it doesn’t immediately come apart.
These little black tabs hold in the LCD cable, and once you free them (just push them out with your thumbnail very gently) it’s easy to pull off the front of the machine.
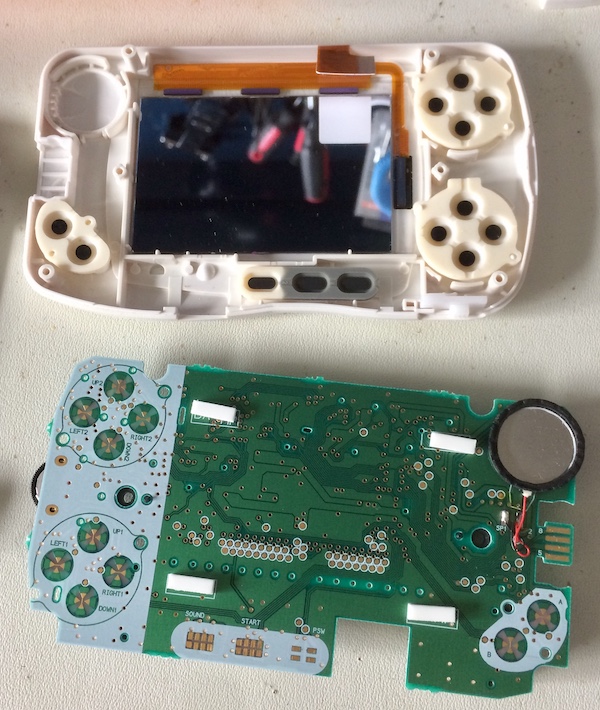
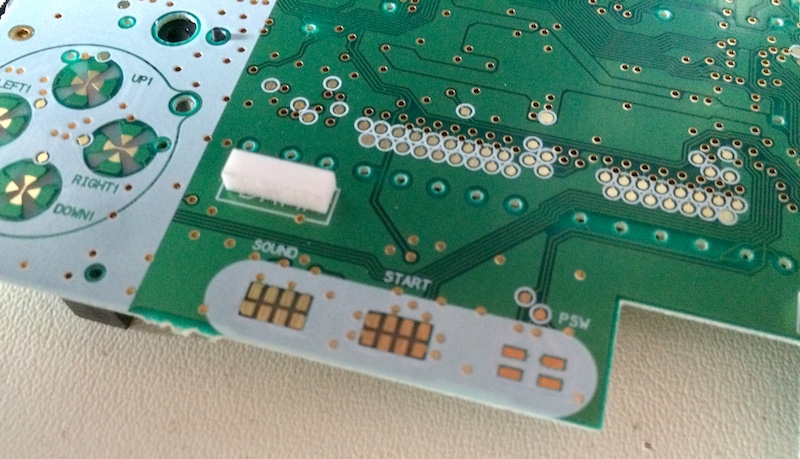
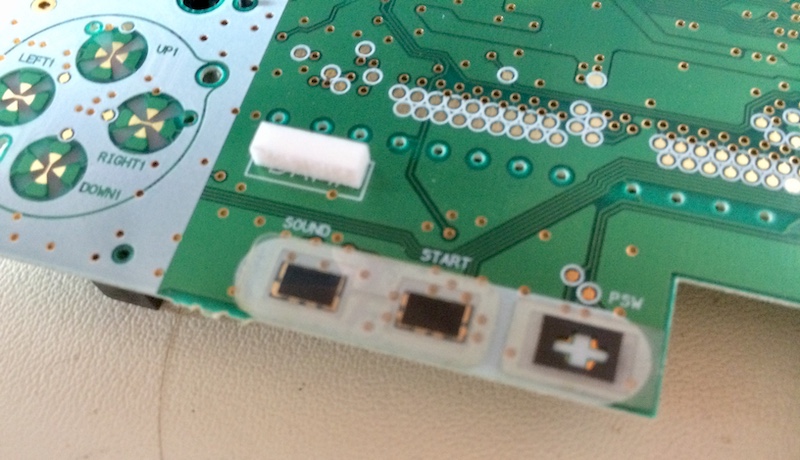
Then all the membrane buttons can be removed from the case, and the contacts cleaned with alcohol.
It takes a little bit of practice to get these things off the sticker sheet, but it went onto the power button without too much fuss.
They’re actually multi-layer membranes with adhesive holding the layers together, like you’d see in a ZX Spectrum keyboard. The whole experience makes me wonder if I could use the same technique as p1repair does to fabricate replacement keyboards! I did not realize you could just get laminated multi-layer sheets like this.
Let’s just put on the rest of the stickers now…
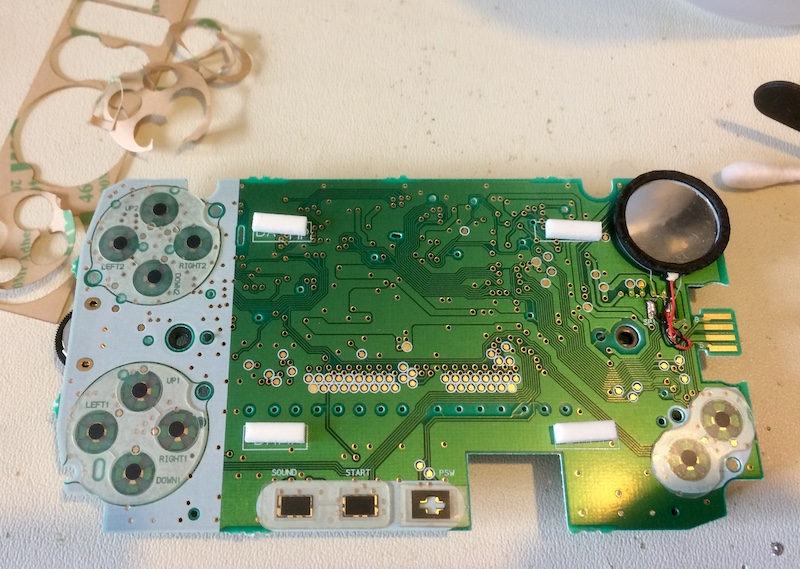
I was a little crooked on one or two but I think overall it works. Now to put the machine back together!
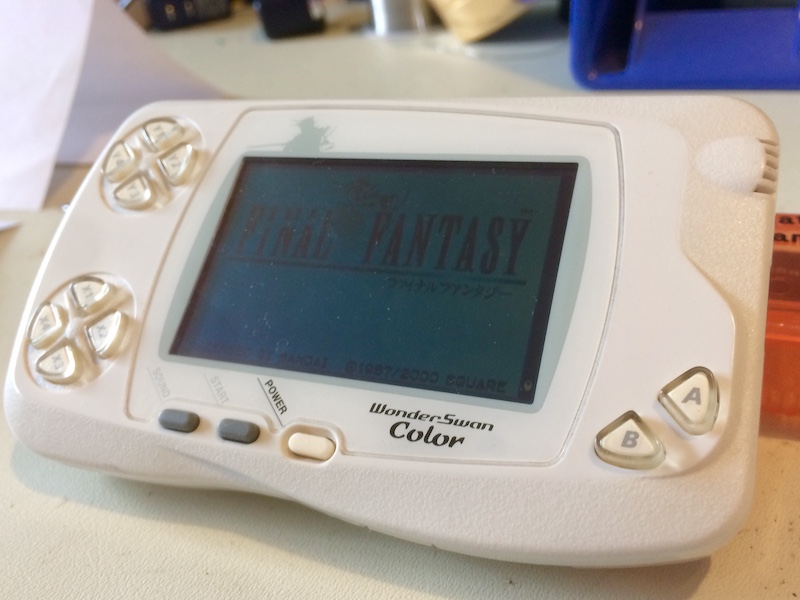
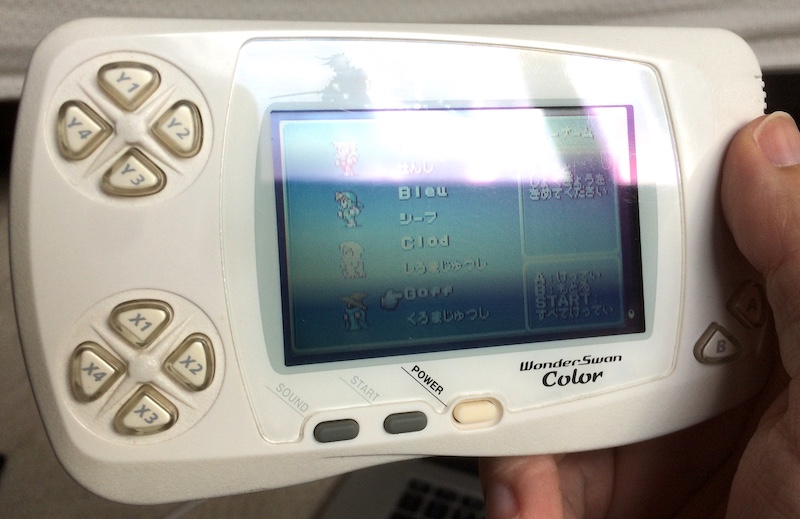
After pushing the power button, the WonderSwan leaps to life. Now I can play my ¥100 copy of Final Fantasy 1 in a language I don’t understand. Let’s just say it’s “hiragana practice,” okay?
Touring the system
I think the WonderSwans might be the only x86-based machines I have in my possession that can be powered by a single AA battery. That’s right, they’re based around a low-power version of the NEC V30, which is a 16-bit 8086-compatible CPU.

If you hold the “Start” button when you power the machine on, you get taken to this menu, where you can personalize it. You can put in your name (displayed at boot time), blood type (it’s Japan), and birthday. I’ve kept the previous owner’s information in here because, hey, why not? Maybe I’ll meet him one day.
Apparently, some games will use your age against you, making themselves more difficult the older you get. I need the opposite, game!
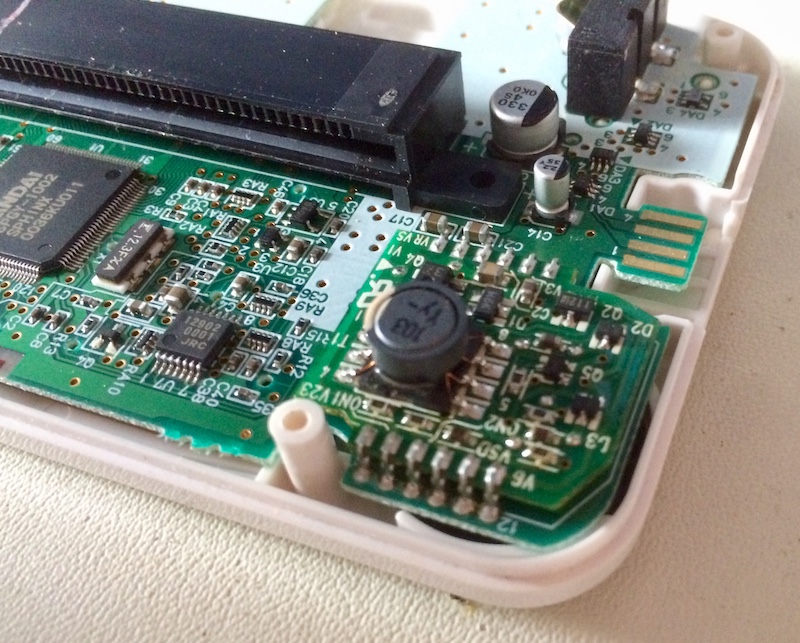
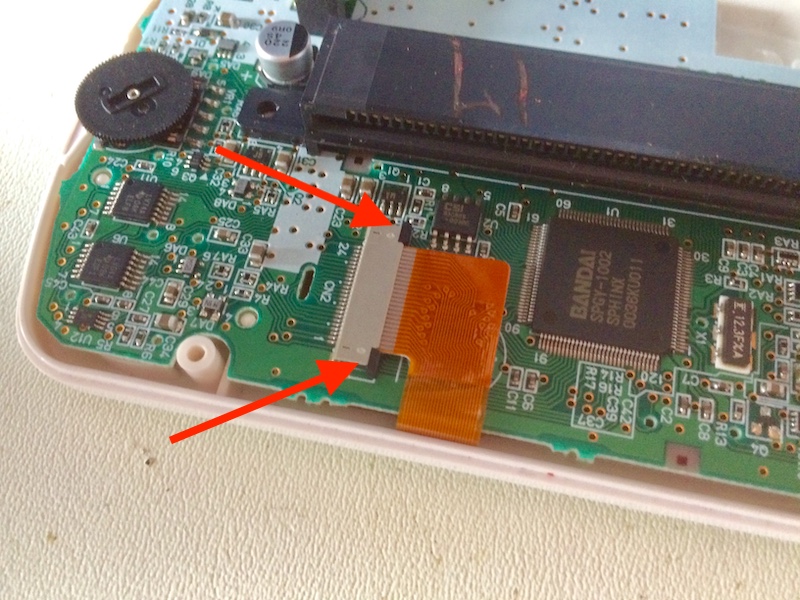
While I had the machine open I couldn’t help but look over at the speaker section. This sucker is loud for a portable system, and I’m guessing this relatively large amplifier board is part of the reason why. Someone must have been really proud of this design.
Update: This is probably the DC-DC power conversion board, and not exclusively for the amplifier.
Conclusion
If you haven’t heard of the WonderSwan before, it’s worth exploring the catalogue and seeing if there’s something you are interested in. There’s everything from modified semi-truck street racing to weird techno-frog rhythm games.
The community could always use more people willing to put out hardware and software for the platform, and the base units are relatively inexpensive (even if the games sometimes aren’t). It’s one of the very few handhelds crushed by the Game Boy juggernaut that didn’t really deserve to die.
Repair Summary
| Fault | Remedy | Caveats |
|---|---|---|
| Doesn’t turn on. | Add repair gasket for power button pad so it can be hit more easily. | Costs money compared to making it yourself from copper tape. |