Atari 1040STF mouse repair
Tags: computer atarist atari mouse repair
I popped open my “good” Atari ST today. As you might remember, I have two 1040STFs: a very battered one I got from a flea market, and a nice-condition one that was owned by a guy who really cared about it, but had passed away. The only thing that was really wrong with this machine is that the mouse didn’t work.
To be more accurate, the mouse movement didn’t work. The mouse buttons worked fine, which was super weird. Online diagnosis ranged from “bad solder joints” to “replace the LS244 hex buffer chip.” I figured I would at least try to replace the solder joints.
In the process of opening up the machine, I noticed that some screws were missing. Someone had obviously been in this computer before, and undid the long gold screws that hold the floppy drive in place. I did that myself on the “bad” ST, and broke the plastic standoffs that hold the floppy drive in place.
Once the machine was open, I noticed that the plastic standoffs for the floppy drive were also broken on this one. Probably because there was only one long gold screw left in it. I’ll have to do some impromptu case repair and maybe a floppy-drive cleaning while it’s out.
I took the keyboard out and started the long process of removing the billions of screws that hold the keyboard’s PCB to the front panel. Jack Tramiel must have taken that with him when he left Commodore.
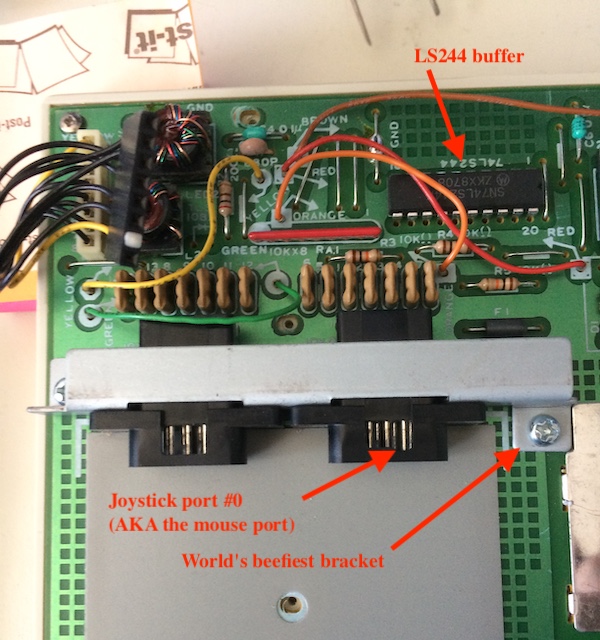
Atari obviously knew that having the ports constantly being pulled on by joystick-swapping kids would risk breaking solder joints, so they added this very awkward-looking and very expensive-looking bracket to the machine. I don’t know if this is a later addition or not, but it reeks of “engineer hack” to me.
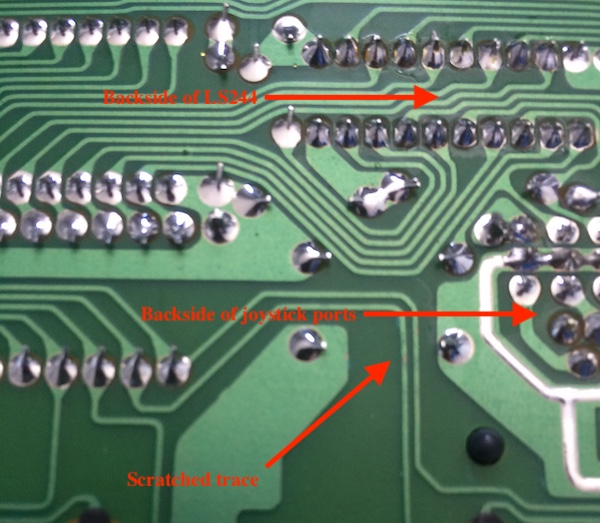
While looking over the keyboard PCB, I found some scratches. This one was pretty deep, but it didn’t appear to have severed the trace.
I decided to try the least destructive approach first. Reflowing the joints on the port would probably help a bit. But I noticed that the joints on the LS244 looked pretty ugly, too.
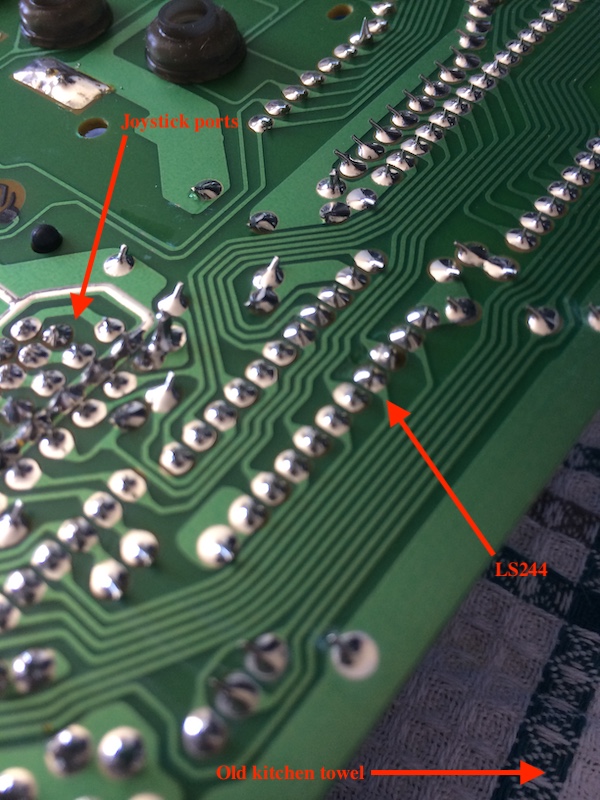
You’ll have to take me at my word; I didn’t realize my phone took such a terrible picture of the joints until just now. While they were fairly shiny, they also looked rusty at the bottoms, and a little touchup was basically free at this point.
I put a teensy bit of fresh solder into both and started putting the machine back together. It took me longer than I would like, because I couldn’t find one of the little rubber cups that activates the keys. I’m not sure if it was never in this machine, or if I knocked it into the recesses of my workbench, but I spent a good two hours looking for it to no avail.
Figuring that the best way to make the cup reappear was to completely reassemble the computer, I completely reassembled the computer. No such luck. I will either have to swap the part from the “bad” 1040ST, or spend some money at Best Electronics on the really nice Atari TT cups in order to make the keyboard feel good instead of like spongy crap.
I pulled out my SC1224 12” colour monitor for the ST, fired it up, and was (eventually) rewarded with a moving mouse cursor and working buttons! It’s fixed!
My excitement was cut short, however, by the scary ticking noises the always-haggard SC1224 monitor was emitting. It just wouldn’t be an Atari ST project if I didn’t end up breaking as many things as I fixed!
Repair Summary
| Fault | Remedy | Caveats |
|---|---|---|
| Mouse doesn’t work. | Reflow solder joints for mouse port. | May break again. |