Set Sails For Piracy!
Tags: console sega genesis pirate-hardware reversing
Have you ever wondered how it’s feasible for AliExpress sellers to produce knock-off Sega Genesis cartridges for under five bucks? I sure was, so I bought one and then tore it apart for your edification. You can thank me later.
Alien Soldier is one of the games I’ve been after for awhile as a big Treasure fan. I first encountered the game on the Sega Channel as an exclusive, which has obviously not been in operation for quite some time. It’s basically a non-stop boss rush that I can’t hope to win, but getting to the Game Over screen is fun and challenging every time.
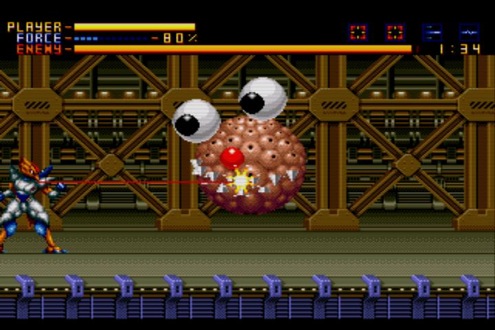
Unfortunately, it was never released in North America (hence the “exclusive” nature of it,) and Japanese import prices are steep, if you can even find it. Until now, I’ve been using an Everdrive to play it. But what if there were a better way, and that better way cost $4.82 CAD shipped?
I ordered the cartridge and waited patiently. It arrived about a month later. The first thing I noticed was that the sticker was applied crooked and starting to peel off.
The cartridge’s quality is sort of questionable. Its plastic shell is super thin and oddly light compared to other Genesis cartridges.
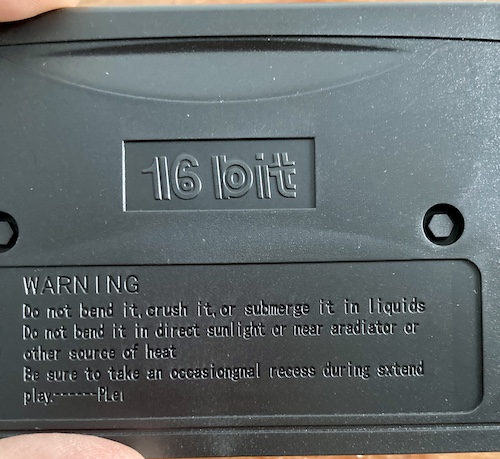
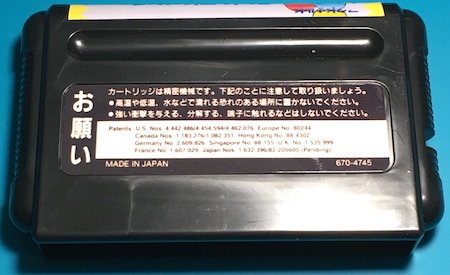
Here’s the standard warnings on the back. I have a set of AliExpress Famicom cartridge shells with the exact same typos. I suspect the “PLei” artifact at the end is a remnant of an old version of Google Translate, as it used to spit up all kinds of extra crap at the end of Japanese translations up until a few years ago.
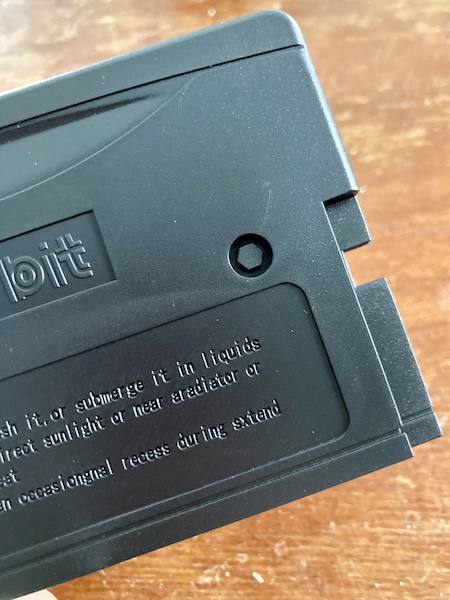
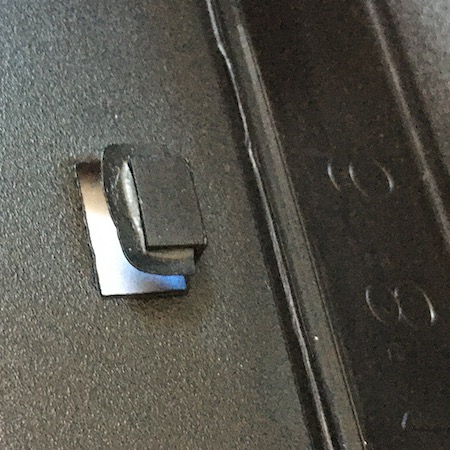
I appreciate the fake bolts holding it together. You actually pry clips on the outside to pop it loose.
Open It! Open It!
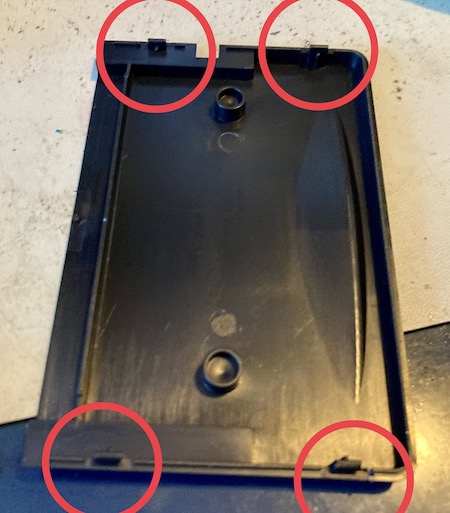
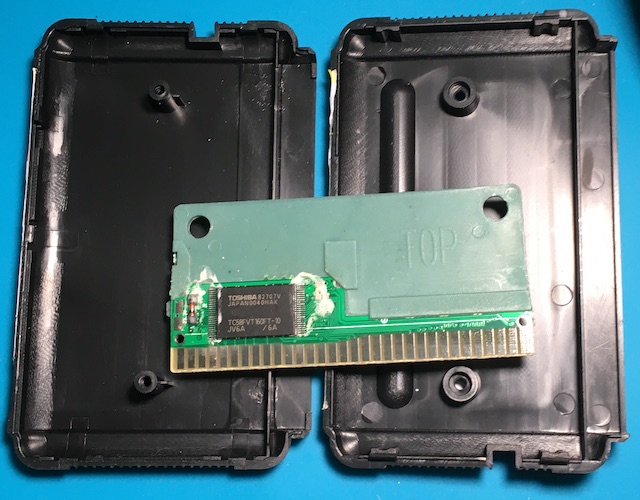
Four snaps are all that holds the back of the case onto the front of the case. After that, you can remove the PCB without any further effort. Nice!
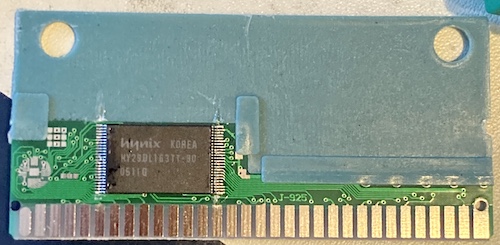
The PCB is the usual kind of cheap cartridge manufacture. I was surprised that it was still the standard-ish Sega 1.6mm (it might actually be a few mils thicker) instead of trying to make the board thinner to save some money. As you’d also expect, the edge connector is just cheap HASL lead solder plating, rather than ENIG or even hard gold plating like you’d see on a retail cartridge. This means it’s going to wear out faster with repeated insertions and even tarnish. I can’t get on their case too badly, because the edge connector on my PC-88 floppy adapter was made the exact same way, also in the interest of cutting costs.
What is a little more controversial is their choice of flash ROM. This obviously-salvaged Hynix HY29DL163TT is a 3.3V part, and it’s going into a 5V system without any level shifting, buffering, or even a voltage-dropping resistor. Over the course of the few years, the old-games community has had a variety of variously-well-reasoned arguments about whether or not driving these 3.3V lines from a 5V Genesis is damaging to the system, the ROM chip, both, or neither.
This PCB appears to have been intended for multiple games, as there is an unpopulated spot for a chip (maybe FRAM for saving RPG progress?) and some unused jumpers for setting… some kind of behaviour. If you can find a chip that’s small enough to fit here and provide some useful purpose, please let me know.
You’ll notice that there are some globs of flux left behind, and the solder job doesn’t look exactly… clean. I think this was hand-soldered, using cheap (possibly temporary) labour. In fact, it wouldn’t surprise me if a large number of these PCBs were assembled well in advance, and then flashed on demand with the game when they make a sale, so as to avoid having excess Alien Soldiers on hand when the public demands only copies of Chakan. Maybe these jumpers have something to do with programming?
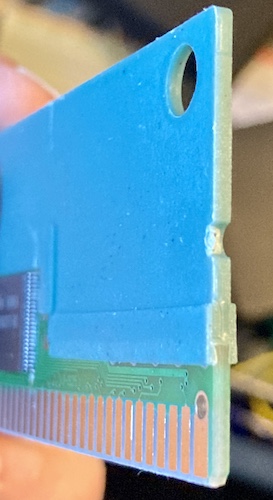
Here is the part that really surprised me. The actual “PCB part” is very small. Basically, there’s only enough board to have the edge connector and the TSOP footprint - and that’s it. Everything else that would normally be “PCB” inside a Genesis controller is replaced by this plastic that is bonded onto the PCB substrate, and the plastic is what holds it into the cartridge shell.
This is to give it stability and ease of mounting, I guess, but it seems like a very clever solution to the problem. This is probably a huge part of why this is so cheap; cutting out almost 2/3rds of the surface area of the PCB is going to cut your costs on copper, tooling, and thus board manufacturing cost. I wouldn’t be surprised to find that the “L” shape is specially measured so they can panelize two boards into a smaller footprint at the fabricator, as well.
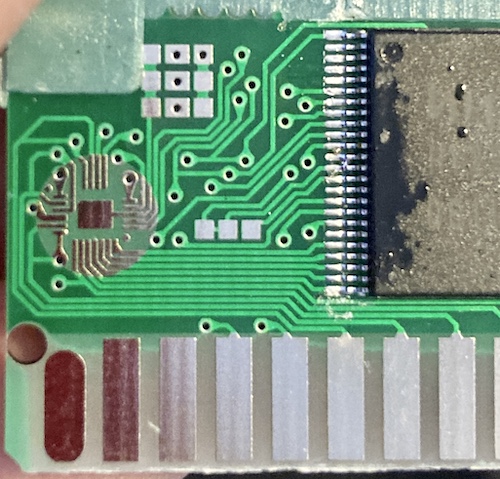
I buzzed it out for a bit to get the general pattern. Effectively, this is a large flash ROM that is mapped directly into the Genesis cartridge’s address and data pins.
A 540° McTwist
One of the other Treasure games I haven’t managed to track down for my Genesis is McDonald’s Treasure Land Adventure, which is their effective “debut” title1. Clearly written under duress, the game is still technically impressive and makes good use of the hardware.
Naturally, the game was cheap for decades, and I ignored its existence while I worked to collect the more desirable Treasure games first. Now, it costs a hundred-plus bucks on eBay, even more now that its easter-egg software 3D triangle rasterizer has been revealed.
When I saw it come up for relatively cheap in a boxed copy on Yahoo! Auctions Japan, I jumped on it and won for ¥3333 (about $40 Canadian) with a handful of competing bids. It was only then that I looked very closely at the pictures and realized that it was a bootleg. The seller was banned from the piracy-conscious Yahoo! Auctions almost immediately afterward.
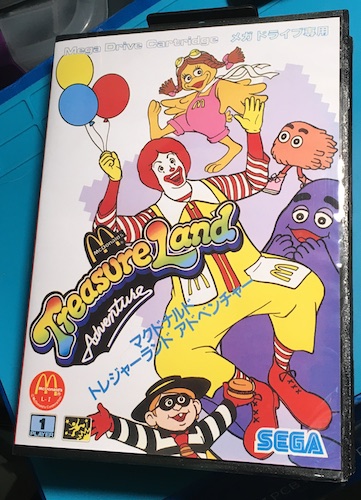
My disappointment only grew when it arrived, and I despaired over the cheap and nasty box (no textured plastic “wrap,” bad dimensions and non-square corners on the box, stickers not fully adhered.) They didn’t even finish cutting the plastic flash off of the little hook that holds the manual in:
What about the manual, you ask? Well, it’s clearly printed on photo paper from a home inkjet printer. It’s also excessively fuzzy and vaguely brown, like it’s a scan that’s been poorly upscaled.
Still, we can all learn from my mistake. And one way we can do so is to crack open my $40 white-van-scam of a cartridge, in order to see how different it is from the Alien Soldier I paid a tenth as much for.
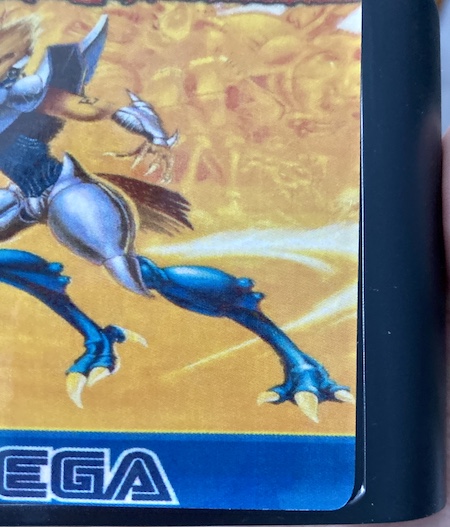
First, we’ll look at the outside. The stickers on this are all applied crookedly, and the registration seems off. They’re also much glossier than a “real” Genesis cartridge.
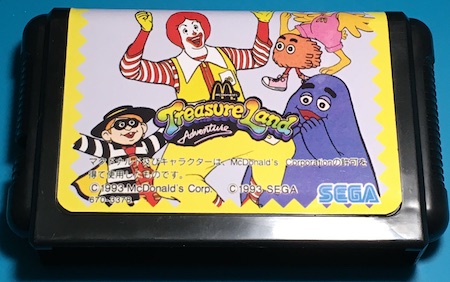
Notice how Birdie’s head is cut off entirely by the label positioning. In what can only be explained by 1980s corporate brainwashing, I did not have to Google her name to know it.
No company would ever allow their character art to get chopped off like this: it would look like, oh I don’t know, a bootleg.
Keen eyes will also notice that the main sticker is squared off unpleasantly around back, as opposed to having nice rounded edges to blend into the lines of the cartridge shell. The Japanese writing on the warning sticker is also extremely fuzzy and vaguely brown.
One of the reasons why original cartridges have a sort of textured plastic is because it helps improve yield – it’s harder to see minute scratches, casting flaws, etc in textured plastic than it is something that’s flat and glossy like this. It also helps identify counterfeits, because the tooling to make those cartridges has to be very precise, which costs a lot of money and it gets thrown out and replaced when it starts to wear out, which costs a lot of money again. Injection moulding is not a cheap industry: if you cheap out, you get results like the above.
This cartridge, unlike the Alien Soldier, is held together by screws. Those screws are held behind the warning sticker, which is consistent with a Japanese Mega Drive shell. Unlike a real cart, I did not really feel bad tearing into the stickers to get at those screws.
This PCB is different from the Alien Soldier cartridge, but it’s got the same basic idea. Big chunk of plastic to save money on FRP and copper, rapid hand assembly, and tin plated fingers. The white goop all around is what appears to be more oxidized/humid flux; it cleaned up with isopropyl alcohol, but it didn’t like it.
The plastic bit on this one says “TOP” on the solder side and “EXACT” on the parts side. Let’s take a look at that flash. Could it be 5V???
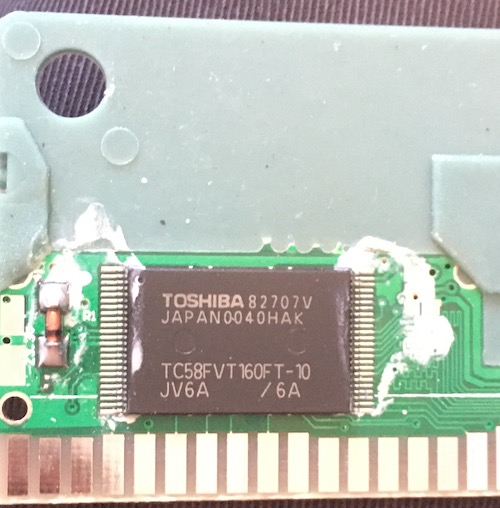
This Toshiba TC58FVT160FT flash is 3.3V (or to be more precise, 3.0V) and warns right at the start that you really shouldn’t be feeding it more than about 3.6V. I forgot to buzz out the diode, but I’m guessing they’re relying on the voltage drop of it to try and get the supply voltage in line.
Of course, this does nothing for the address, chip-select, and data lines of the IC, which the datasheet also claims you should not be trying to exceed the supply voltage with. This chip, too, is being run way out of spec.
Again, I suspect this is salvaged out of a phone of some kind. Maybe not a recent one, judging from the size of the package and the fact that it is only 16Mbit with a slow 100ns speed.
Conclusion
So how did they make these things so cheap? I think overall it comes down to:
- Using salvaged parts (the Hynix and Toshiba flashes) well outside of their rating;
- Making the PCB part, and thus copper expense, as small as possible by using a clever plastic shim to fill dead space in the shell;
- Cheaper HASL plating on the PCB edge connector;
- Re-using someone else’s heavily used injection mould tooling for the cartridge shells;
- Plastic clips instead of threaded fasteners to hold the cartridge shell together;
- Extremely cheap labour to hand-solder the components and apply stickers.
While these are obvious fakes, it doesn’t really bother me too much when they cost $4 as opposed to $40. Will I be using them in my systems? Probably not. Might they get used in future dumb projects? Now that’s more likely.
The bottom line: Don’t buy these things for more than $4. $40 for a Mega Everdrive X3 will at least go into Krikzz’s pocket.
Also, even on Yahoo Auctions Japan, please be real careful about buying old cartridges.
Some keywords I’ve since noticed on other similar auctions, which may clue you in that you are dealing with a reproduction:
- “resale version;”
- “bought overseas;”
- “not for collection.”
Maybe send any future super-cheap Treasure game auctions to me, you know, for inspection.
-
Gunstar Heroes is technically their first released game, but they began development on McDonald’s in order to get Sega’s nod of approval and then switched to parallel development halfway through. Treasure in the 90s worked harder before 9AM than I do all day. ↩