A Game Boy Macro
Tags: console nintendo nintendo-ds mod
There are a lot of broken Nintendo DS consoles out there. A shattered screen there, a broken flip hinge here: it would be nice if someone could do something to save some of those wounded machines. Someone did do something!
The concept
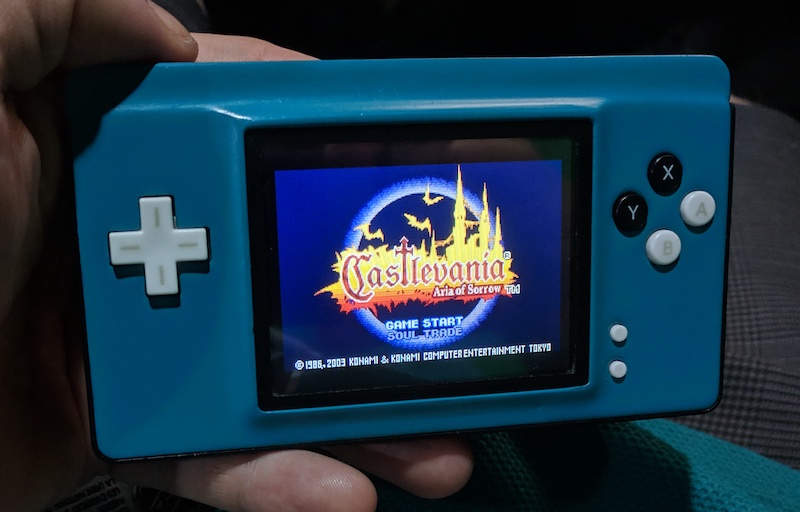
A “Game Boy Macro” is the internet’s name for a Nintendo DS that’s had its top screen amputated. The end result is a fairly large-screened Game Boy Advance (grey Game Boy cartridges don’t fit into or run on the DS due to a lack of hardware) that is a canvas for further modification.
Blog friend Illuminado did an excellent build of his own that looked great and was the inspiration behind this session of slamming hot lead into a Nintendo:
I was interested in the idea mostly for the sake of getting to do some Bondo and paintwork on plastic, but at the very least it would be good practice on taking apart a complicated, teeny-tiny, surface-mount device like the DS Lite.
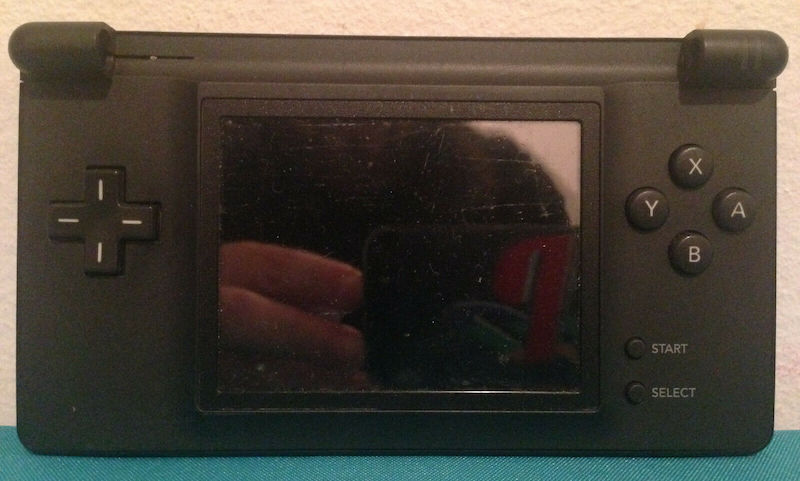
My victim was found on eBay, and came from Quebec, with the top screen already severed. Only a little stub of the ribbon cable remained. I got it for $6.50 - seventeen bucks shipped. Canada Post is not an inexpensive service, that’s for sure.
Open ‘er up
When it arrived, I tried switching it on. The DS gave a white screen flash and then shut down, which is normal when the top screen is missing altogether. This is a good sign - at least the motherboard worked, the battery worked, the lower screen worked, and it didn’t seem to have any dead pixels. I was ready to dismantle it.
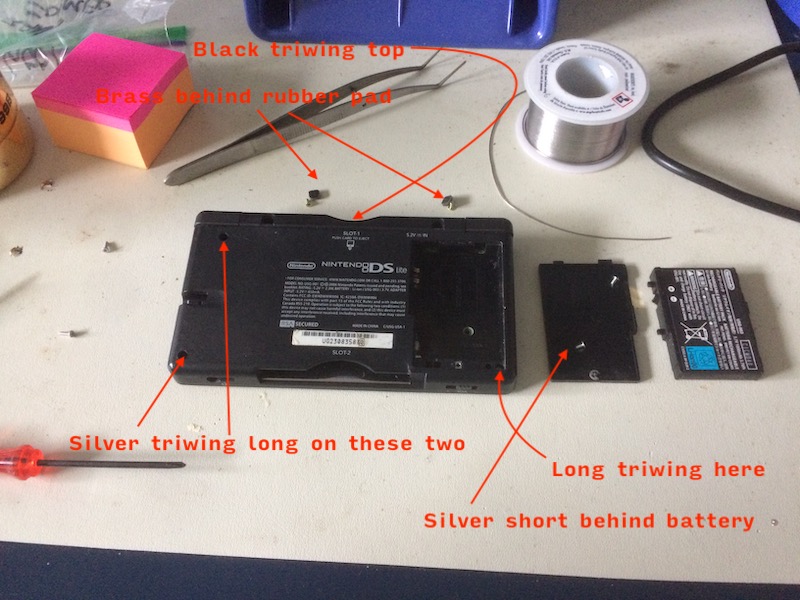
The first guide I saw on the Game Boy Macro technique neglected to mention the triwing screw in the battery compartment, but after I tried to pry the case open and failed in that corner a few times I figured it out pretty quick. I used a combination of the “official” tutorial and an iFixit community guide on taking a Lite apart. Both of them had omissions, which is why I have to write this now.
There are a lot of different screws, so don’t mix them up and put them back in the wrong hole. Nobody wants to have case dimples from too-long screws.
Look out for the volume and power sliders falling out as you lift the back off. Now the sweet, sweet goodness of the inner electronics could be at last exposed.
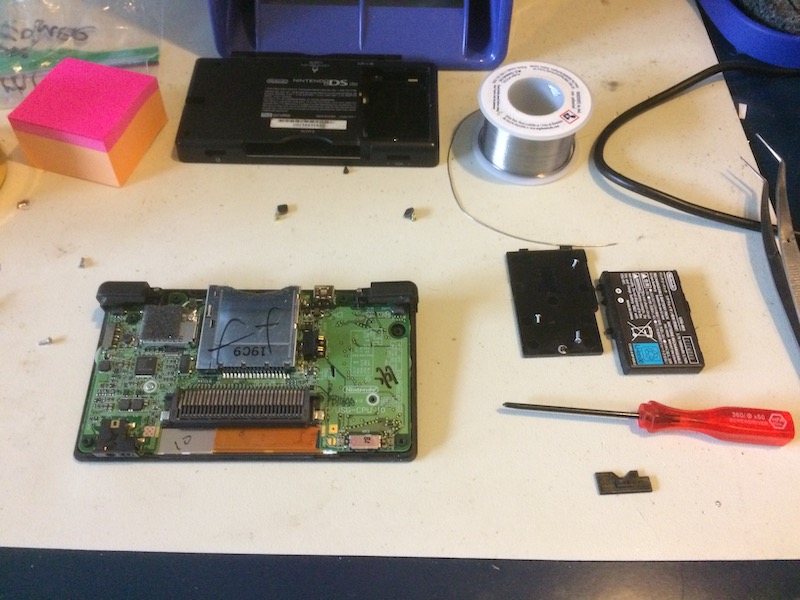
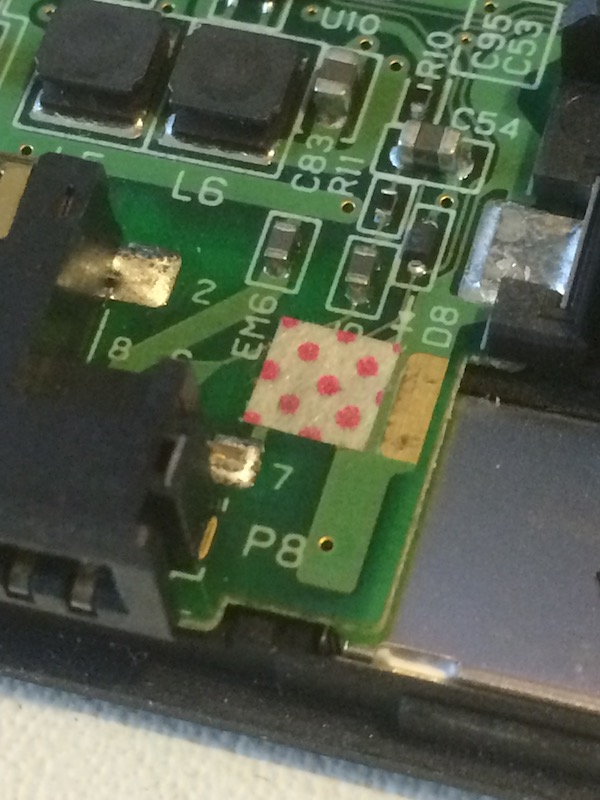
The water damage sticker is fine. If you actually have water damage this turns solid pink, instead of polka-dot:
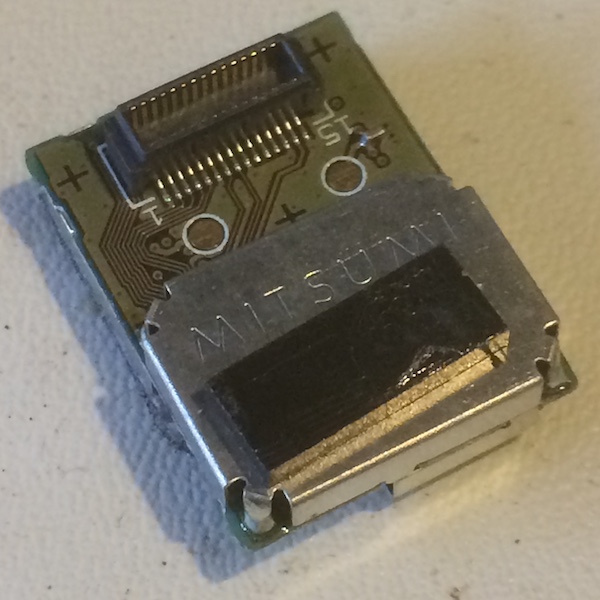
You have to pull the wifi/BIOS module in order to make it easier to remove the top screen. I did it even though I no longer have a top screen, and saw the mark of an old friend:
A tricky bit for me was removing these screen ribbons. I practiced on the connector for the top screen, since I couldn’t really do much more damage to it:
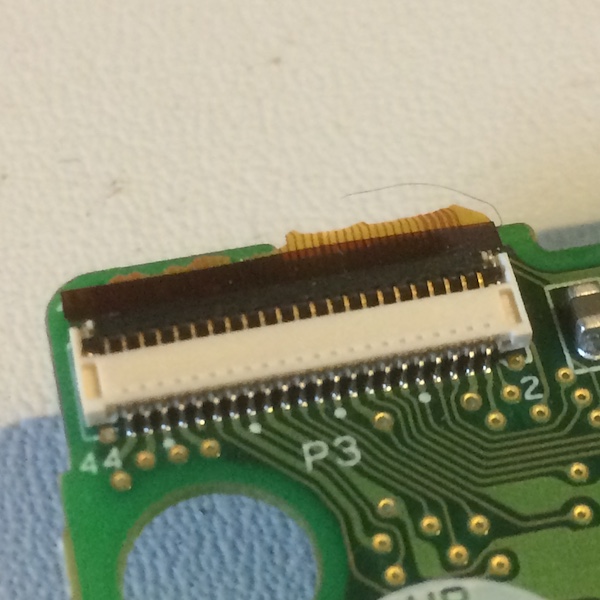
There’s a little black bit you have to lever up with your finger nail, and then once it’s released you can just wiggle the ribbon cable out. Don’t try to pull until you’ve flipped up the little black cover!
The mod
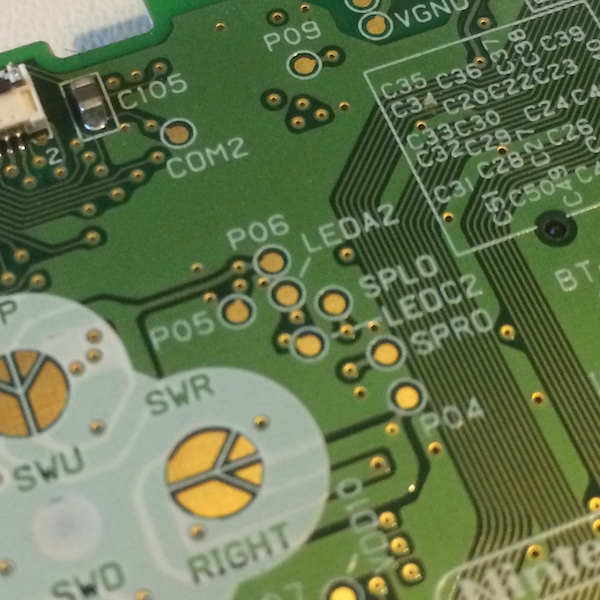
I repeated the process on the bottom screen (and the digitizer ribbon) and put everything aside but the motherboard. Now it’s time to glob in some solder. We want to put a 330Ω resistor between the “LEDA2” and “LEDC2” points to trick the Lite into thinking the top screen is still there.
I picked a cheap 0805 surface-mount resistor and had a little bit of trouble getting it to sit flat (I need way more SMD experience, liquid flux, and much better tweezers), but persevered in the end.
Update: My updated, 2020, technique for soldering surface-mount resistors is as follows:
- Tin one of the pads only. It helps to flux both pads so that the solder sticks easily! Think of it sort of like spraypainting without sanding down a surface first.
- Rotate the machine so that the tinned pad is on the right side (if you’re right-handed.) It should be really easy to get the soldering iron in there without having to bend your wrist uncomfortably.
- Bring in the resistor on a pair of tweezers with your left hand. Place it on the board, but not on the pads. This is how we’re going to make sure it’s flat and the right side up (numbers face up, shiny side down!)
- Put the iron to the pad you just tinned to melt the solder, and then slide the resistor onto that melty glob of solder.
- Wait a second or two, look at the resistor from multiple angles to make sure it’s really flat and straight, and then remove the iron while still holding onto the resistor with the tweezers. Otherwise, the surface tension of the iron leaving the solder will pull the resistor crooked.
- Triple check everything, then solder down the other pad. Clean up the first pad now if it looks cold (dull and not shiny) or is gunky. If you have too much solder and end up with a conical glob - common for me - you can clean your iron’s tip and try to wipe some of it away.
I didn’t have a speaker on hand, but if I had, I would have connected it to SPL0 and SPR0 here. Sadly, the speaker was left behind with the top screen in some ditch in Longueuil. For now, I’m using headphones like a responsible adult until I can eBay a replacement.
With the resistor across these points, I partially reassembled the machine (make sure the screen ribbon cables are in far enough!!!) and gave it a shot:
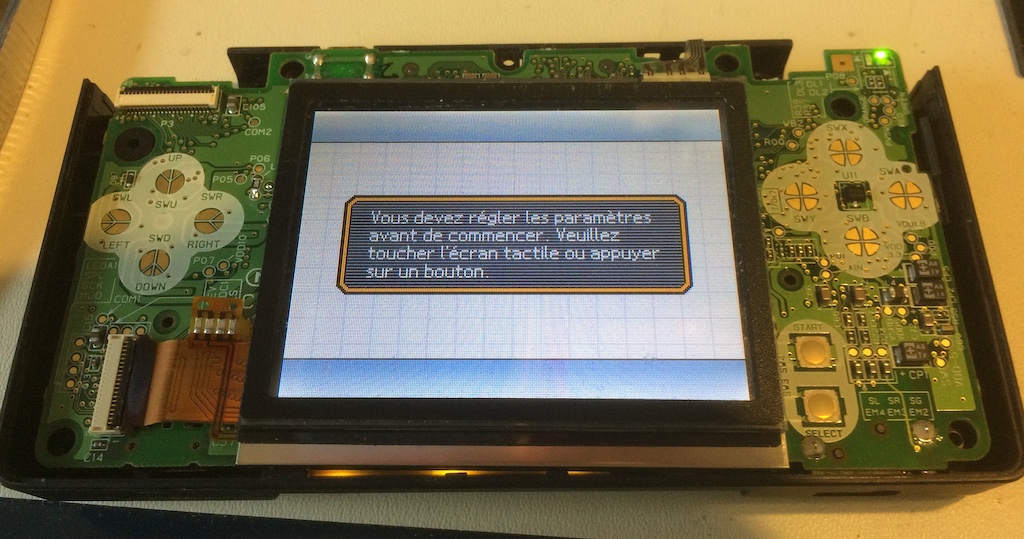
As you can see, being a French-Canadian DS, it is… in French! A good excuse to practice my bilingualism and help reinforce Canada’s cultural makeup. At least, for long enough to change the language to English. Still not sure why Nintendo got rid of this feature on the DSi.
I then put the case together, and had to redo it a few times in order to make sure that the power button and volume sliders were actually attached to their components instead of just falling out or getting stuck somewhere they couldn’t do anything. In the end, though, it all came together. This little guy has amazing design-for-manufacture, so it was easy to figure out how it all went back together.
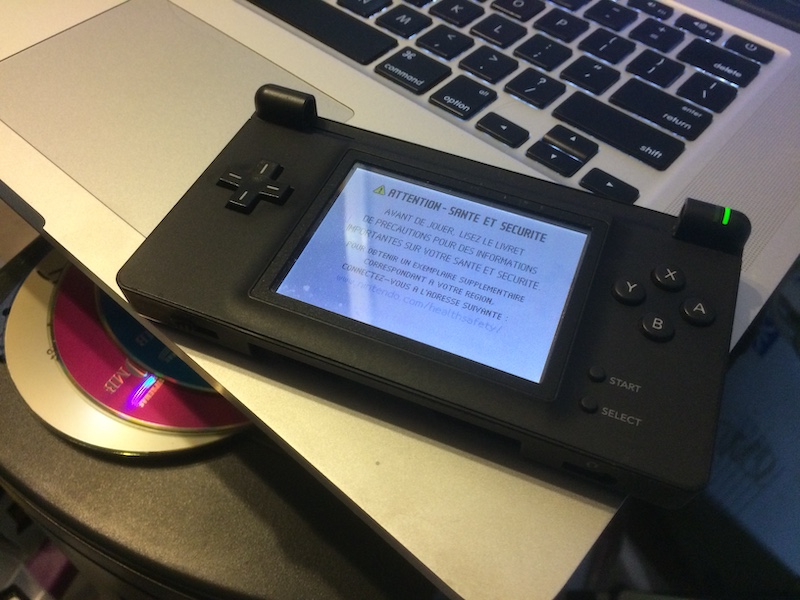
I was able to play Game Boy Advance games with impunity. Another one saved, kind of.
What’s next?
Only at this point did I remember that the DS Lite is incapable of playing “grey” Game Boy titles, which was a little bit of a disappointment. I guess I’ll have to get a flash cartridge and use Goomba or something, so I can finally finish Mole Mania on the bus.
Hardware-wise, however, the next step is to cut off those hinge ‘ears’ and build a good-looking case. If only I could decide on a colour…