Turbo Typin'
Tags: computer sharp sharp-x1-turbo keyboard repair
Times are tough for the Sharp X1turbo community. While keyboards used to be thriving in the used market, nowadays whole families of hungry junk hoarders can go years without a single ping on their Yahoo! Auctions watch lists. We gotta do what we can to save the keyboards that we have.
This particular keyboard is afflicted with a common malady, and one that’s not nearly as common.
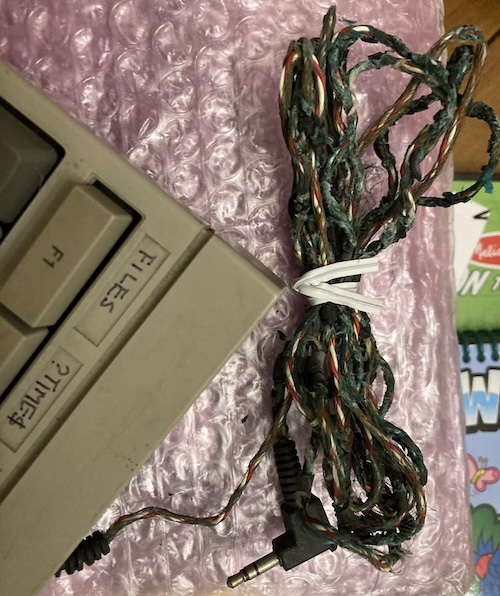
Virtually all X1turbo keyboards have lost the insulation on their wiring by now. Something in the plasticizer turns into a green nightmarish mess of stringy petroleum death. While the wires still conduct, it’s super gross to move the cable and have a chunk of hardened greened-up plastic fall off.
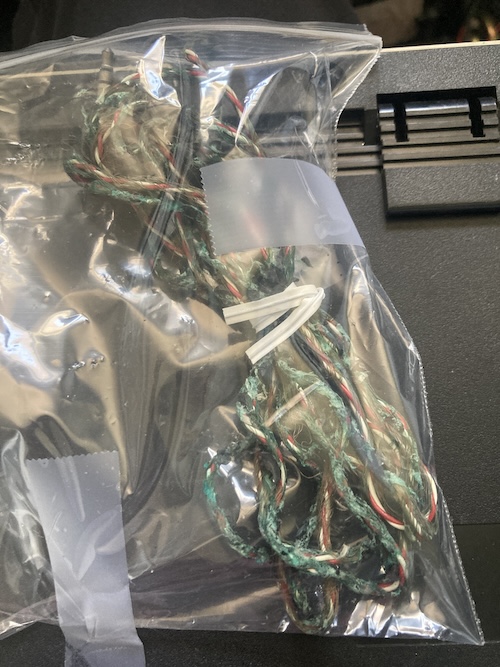
I put the wire in a ziploc bag to keep my carpet a little cleaner than it would be otherwise.
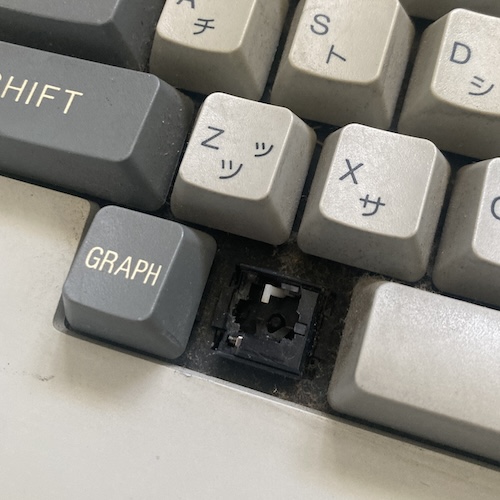
What’s less common, and something I’m not as happy about, is this broken Caps Lock keycap. It looks like it also broke part of the pedestal on the PCB frame, and since it’s a latching key, it might cause other problems down the line. Luckily, Caps Lock is not that important, as you can just hold down Shift. If Kana had been broken instead, I’d be in a real world of hurt.
Studying the keyboard
Once the top has been removed – by unscrewing six of the bulkiest plastic screws I’ve ever seen on a keyboard – it’s easy to remove the top.
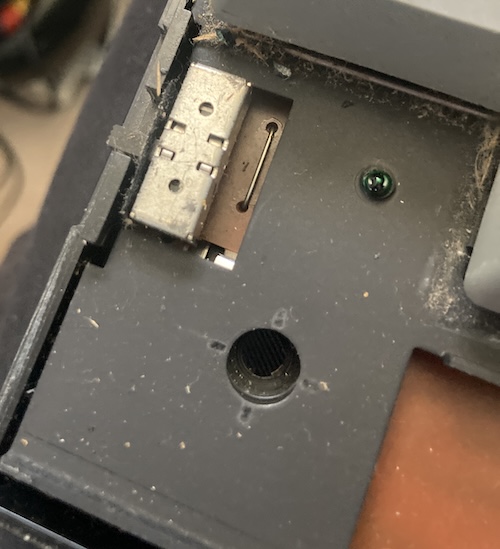
Here’s the “Mode B” switch that I referenced in my previous article about the X1turbo keyboard. Toggling this makes the keyboard send some extra packets, for quicker polling of a handful of keys commonly used in games.
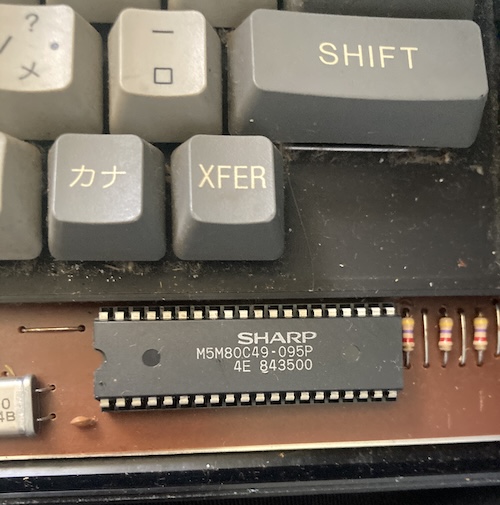
Here’s the (socketed!) 80C49 microcontroller1 inside the keyboard. Even though it has a Sharp logo on the outside, the M5M- prefix tells us that the MCU was fabricated by Mitsubishi. When you buy a couple hundred thousand of something, they’ll put your logo on the package, no problem boss.
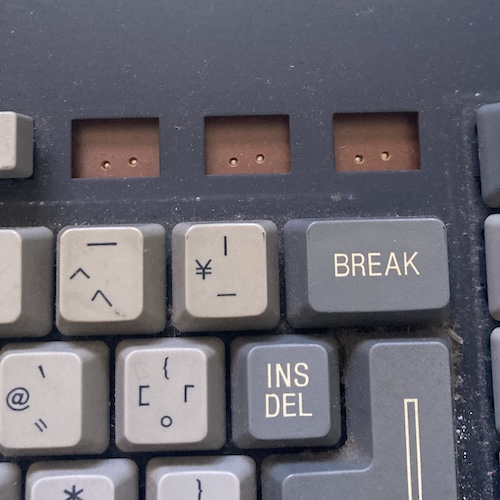
The function-key row contains these three unpopulated switch footprints. The circuit board on the backside goes to these traces, so they are definitely part of the matrix. My guess is that this is for cassette tape control (rewind/stop/fast forward), so that they could reuse the PCB in X1s containing a cassette tape drive2. If you know, please leave a comment.
Not wanting to completely dismantle the keyboard at this point, I took the PCB outside and blew it out with my air blower on the driveway. Then I smacked it on the back a few times to shake off the majority of the crap. Hey, if I wanted a mint-condition thing I’d build a new keyboard.
Replacing the Cable
I decided that replacing the cable was prudent: 3.5mm stereo minijack is used all over the place and you can get all the parts super cheap and easy no matter where you are in the world.
It’s connected inside the keyboard with a 3-pin JAE IL-G connector. I grabbed a replacement connector, the female crimp pins for it, and a snazzy-looking panel minijack connector to top it all off. This way, the cable would be replaceable if anything were to happen to it in the future.
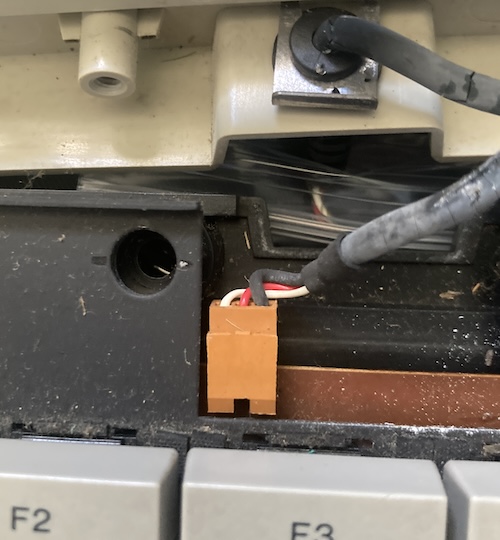
Once I took a picture of the wire colours, I removed the old one and gently worked out the C-clip holding the strain relief to the top case plastic.
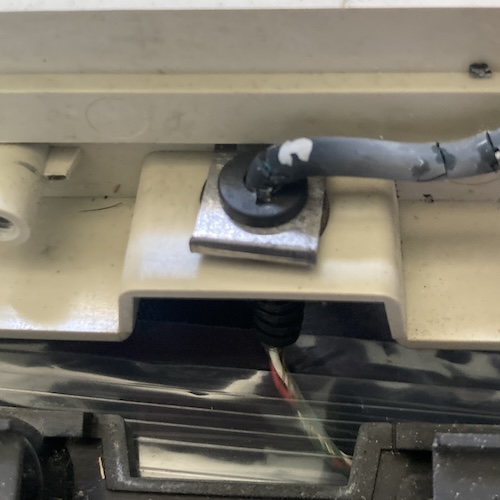
This took a little bit of persuasion, but my pliers got it free.
Now that this was free, I did a quick little buzz-out with the multimeter. Recall that the X1turbo keyboard connector looks like this:
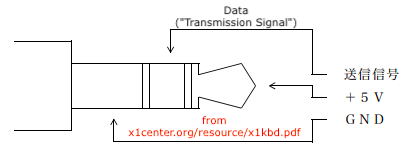
On my keyboard (you should double check for yourself) the wire colours were as follows:
| Colour | Part of minijack | X1 turbo signal |
|---|---|---|
| Black | Sleeve | GND |
| Red | Ring | Data |
| White | Tip | +5V |
I did not expect this – I expected red to be +5V! It’s a good thing I checked, and you should too.
Crimping up the pins with my trusty Engineer PA-09 worked fine. It’s not the correct crimper, nor is it even very good, but it did a decent job. I didn’t have any 22-AWG white wire, so I ended up substituting green for white. Yes, it perpetuates Sharp’s weird colour code, but when in Rome…
Now that I had a general idea about things going in the right direction, I threw some heat shrink over the thing, and soldered it. You wanna get those in the right order.
Testing 1
I connected the keyboard PCB to the whole mess, but then I found some fitment problems…
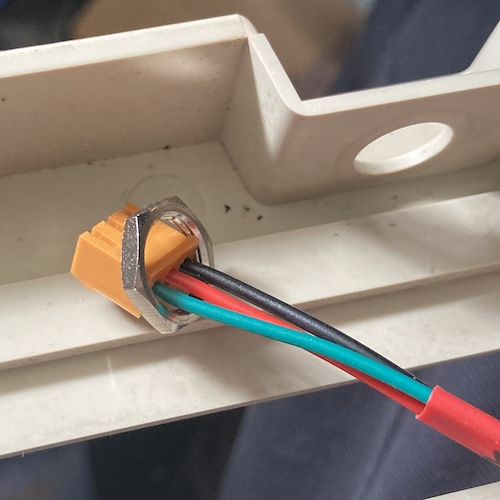
For one, I couldn’t get the nut off the connector I just crimped on, which was an easy fix…
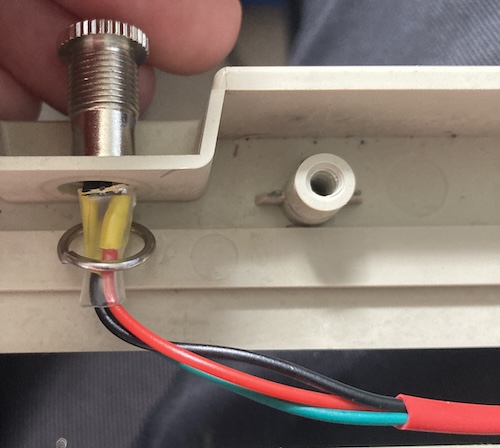
The connector is also too deep, so when fully inserted, its pins will interfere with the hole where the F3 key is supposed to come out of. I looked around for spacers, but ended up sacrificing a few nuts and washers from the extra connectors I had bought to space it off from the plastic. Even then, it was a tight fit.
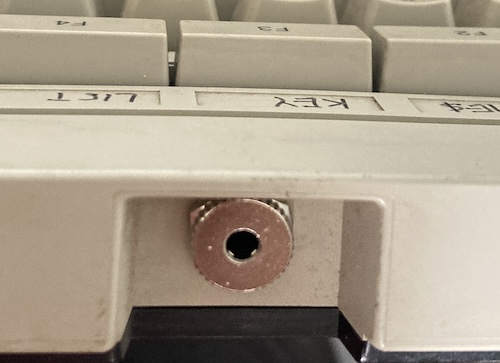
But fit it did! I went to give it a try, but I was greeted with the “turn it on slowly” error, which usually indicates some kind of power problem with the keyboard. Uh oh.
Untesting
I took the keyboard apart again and disconnected the cable from the keyboard’s PCB. Using my multimeter and a very precise amount of holding and clamping to make sure neither cable got away from me, I checked for voltages and found none between the power pin and the ground pin. Uh oh.
I found at this point that the solder joints on the underside of the PCB were broken on the connector: surely I hadn’t done that trying to forcibly cram this thing together, it was definitely some other idiot in the past, not me at all.
Buzzing it out against the male end of the patch cable, I realized I had also transposed the ring and tip pins when I soldered it to the minijack!
I depinned them and quickly fixed it, cursing myself for not testing this earlier. D’oh.
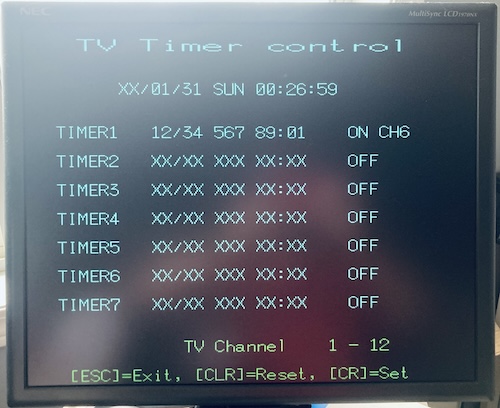
Now I could push “T” to get into the Timer mode. And the rest of the keys seemed to work too! Fantastic. I don’t even care that it seems like something in the red channel has come loose on my cobbled-together video adapter, which is causing me to have faintly blue text instead of white.
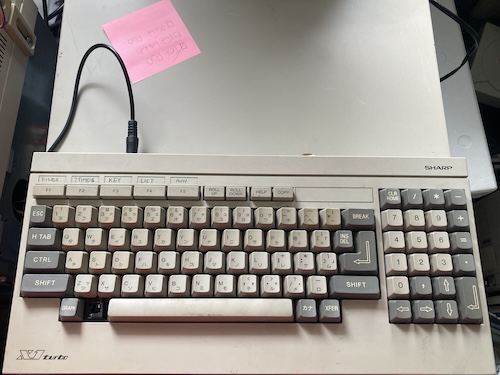
After buttoning it up, I realized that it looks pretty good, even with the jagged hole in it. Maybe I’ll print a cover or something that can just go over the hole.
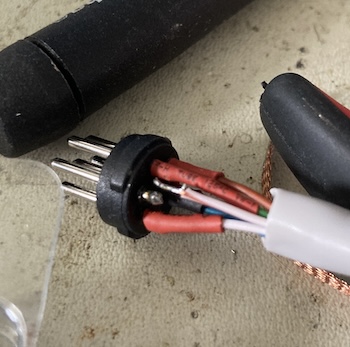
And I fixed the video cable, too! I think I had a really bad joint on the red pin and it just broke from the stress of plugging and unplugging it. That’s why this blog isn’t named “Good Solder.”
This keyboard mod was definitely worth doing, as I like being able to store the keyboard without having to worry about cord burn or roadie-wrapping the whole thing.
I plan to improve the curb appeal in the future by adding a snazzy red braided cable as well. If only every keyboard used a common, easy-to-get, high-quality cable!
Repair Summary
| Fault | Remedy | Caveats |
|---|---|---|
| Keyboard cable is melting | Get rid of it. | |
| Screen seems a little blue | Finish soldering the video adapter. |
-
My build of Matt Millman’s MCS-48 dumper still doesn’t work quite right – it is only issuing very low voltage on the 12-volt EA pin. I need to figure that out. Once it’s reliable, though, this will get dumped along with many of my other oddball keyboards. ↩
-
After looking at the keyboard of an earlier X1, it looks like these keys used to be used for television control – buttons like “channel up/down,” etc. Thanks to blog friend Johnny Blanchard for telling me. ↩