The Bare NESessities
Tags: console nintendo nes repair
The Nintendo NES has more than its fair share of Achilles’ heels, but the motherboard is not usually one of them. Even so, there’s an open-source replacement motherboard for the system. Blog superfriend Keegs constructed one, but it’s not quite working. Let’s figure out what’s going on and take a look at the unique features of this new board.
What Is The NESessity?
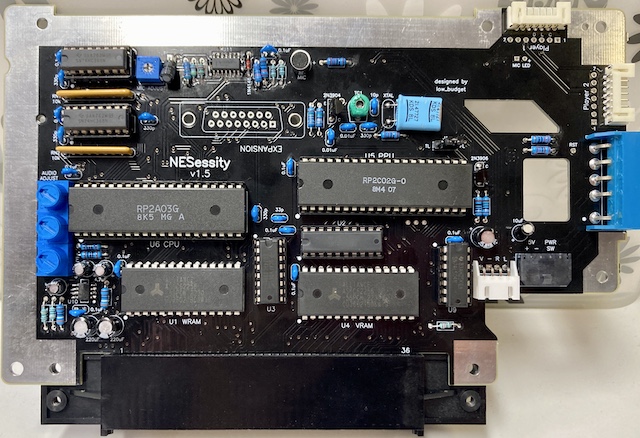
To populate this board, you must transfer the CPU and PPU from a real NES or Famicom. I think the rest of the BOM can be acquired new. The outline of the board matches the original motherboard very closely, but it adds a couple of new features:
- 15-pin Famicom controller expansion port mounted where the NES expansion port should go on the bottom of the board;
- Stereo sound output;
- Famicom microphone support1;
- No CIC lockout chip, for better or worse;
Unlike the similar OpenTendo project, the NESessity is a closed-source board, but you can purchase NESessities from the creator’s Tindie page for a very reasonable price. This board is a version 1.6, which was the latest at the time of writing.
Personally, I don’t know if these features are a big enough motivator for me to build one of my own boards. Anyone who is hardcore enough to build an entire clone system to get Famicom features would probably just import a dollar-menu Famicom from the Home Islands.
The project website claims that it’s a worthwhile replacement for boards that were damaged during a failed RGB mod installation, which is an inherently noble reason. Save those NESes! There’s been tons of battery- or capacitor-damaged boards out there for other systems that I would love to have been able to get such a high-quality replacement for.
Honestly, I would design a clone like this just for fun, and I think that’s the true origin of this cool project! Things don’t need to have a reason in order to exist. Sometimes game projects should just be for laughs.
Inspecting the Donor NES
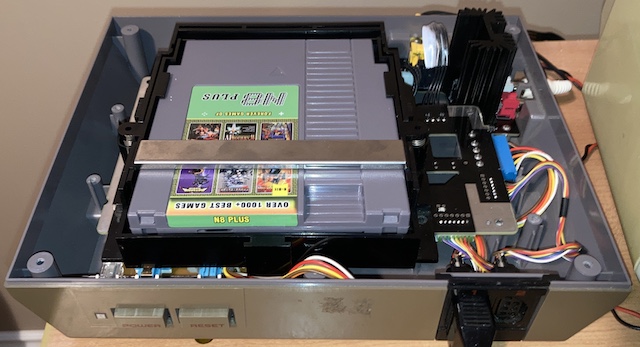
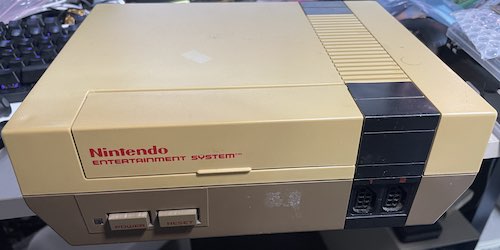
I was provided with just the bottom shell of an NES, mostly so I could have controller ports and power/reset buttons for testing. None of the boards were screwed in, and the “parts side” of the NES motherboard faces down, so testing involved a lot of cable origami on my desk.
![]()
The “Donor” NES is pretty interesting: there’s a Mattel sticker on the bottom, covering the original Nintendo repair information sticker. I knew Mattel sold European NESes, but I don’t remember them doing so for Canada (I was a ColecoVision, and Sega kid, and missed the golden era of NES except when visiting my friends’ houses.)
A little bit of research soon showed that Mattel was the official distributor for the NES in Canada, which is strange since neither of my NESes have this sticker on the bottom. Yet more Canadian-specific trivia for me to bore everyone with.
On my initial test, there was no cartridge activity. I’m not surprised by this, as the NES cartridge slot mechanism is fairly unreliable, and the NESessity can’t do anything about that. In fact, Keegs installed an aftermarket 72-pin connector years ago into the donor NES board that seems, if anything, to have made things worse.
Eventually, I managed to wiggle the cartridge in such a way that I could start the provided Everdrive N8 clone cartridge (after a reset, as per the docs.) Saw video but it was not great.
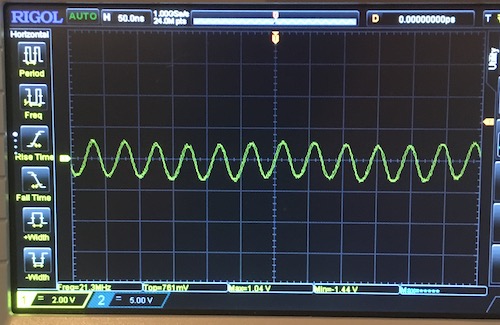
I decided to take a quick look at the PPU clock, to see if it was merely a slightly out-of-spec cap. It seemed generally in the right frequency range, but the DC offset kept wavering, like there was a huge amount of ripple in the clock signal. That’s not good.
Time flies like an arrow, and fruit flies like a banana, but clocks shouldn’t look like a banana.
As is normal with the NES and its direct connection between the cartridge and PPU, I also got glitchy tiles when things weren’t connected just right. It is very frustrating trying to diagnose a motherboard issue when the cartridge slot is not reliable. Thankfully, I was able to make some progress before I reached a level of frustration where I dismantled one of my working NESes.
Short Temper
It was at this point that I realized something. Out of muscle memory, I had plugged the video into the side of the NES, where the original composite video port is. With the NESessity motherboard, that port is.. left audio. I was getting video out of the audio port?
Uh oh.
I was starting to feel like there might be a shorted pin here. My theory was that two signals were fighting each other. Maybe even left audio and video were shorted together, considering I was getting video out of the left audio port, and the sound was an ominous, oppressive hum.
The black solder mask on the PCB makes it very annoying to trace, but thankfully I didn’t need to in order to locate this fault. After my first test, I had to spend a few busy days away from the workbench, and forgot all about it. When I came back to the system and began my visual inspection for obvious shorts, the silkscreen told me exactly what was wrong.
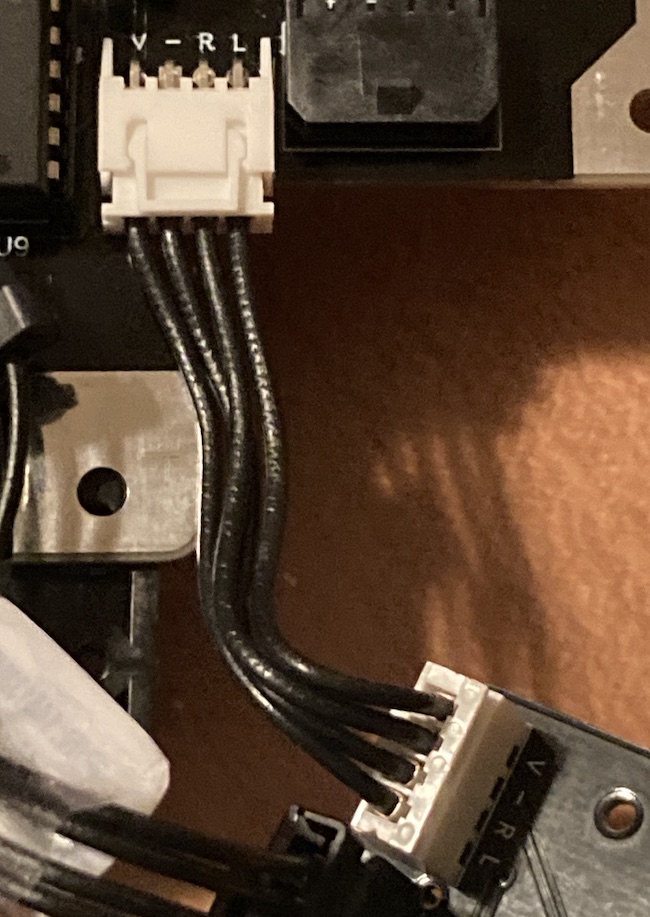
That’s right, the cable leading from the motherboard to the video board is backwards. Although it’s keyed, one end has been flipped, so that:
- Video feeds into left audio;
- Ground feeds into right audio;
- Right audio feeds into ground;
- Left audio feeds into video!
This certainly explains why I had a buzzy, unstable video output on the “left audio” output. With the machine happily pumping amplified audio into ground, the output board had no sane ground reference, and lots of awful things were going on.
It is fortunate that the pins were labeled. Another good reason to always label the pins on your connectors, PCB designers. Make our lives easier when we have to fix your stuff!
I’m not sure where this cable was sourced from, but I assume that it came in “reversed” and “regular” versions and the wrong one was picked. Been there!
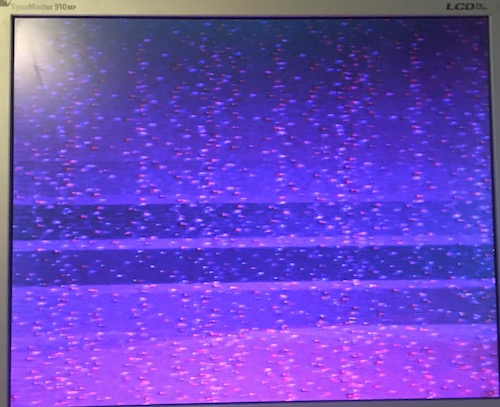
I quickly depinned the connector with the help of a nearby screwdriver, and re-pinned it so that the connector was on the right way around. A quick power up, and I now had a solid colour instead of hateful video noise.
Press Start
If I have a solid colour now, then…
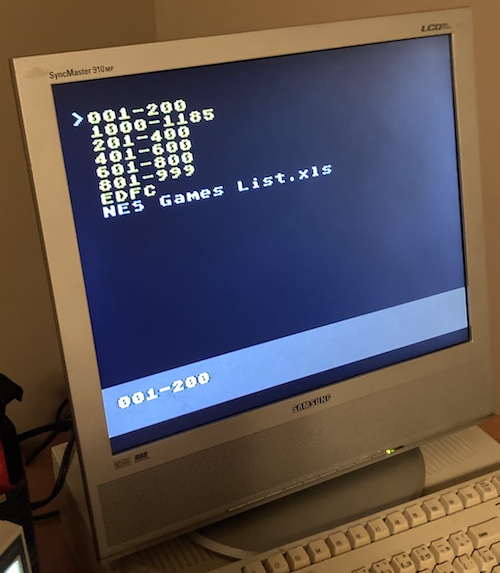
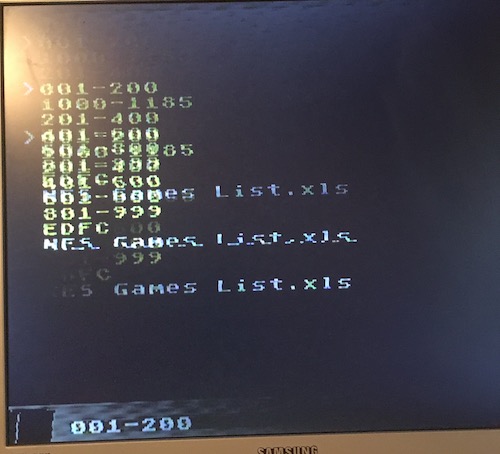
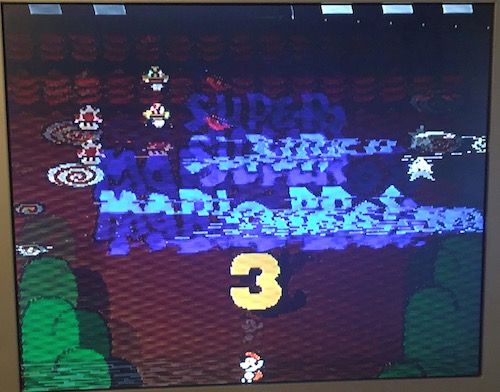
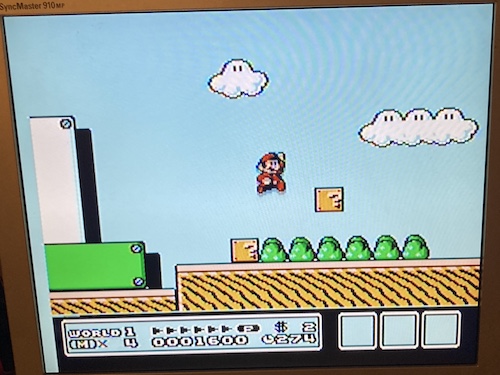
After some more finagling of the cartridge, and reset-pushing, I was able to get the EverDrive clone cartridge to boot and present its menu. Looking good!
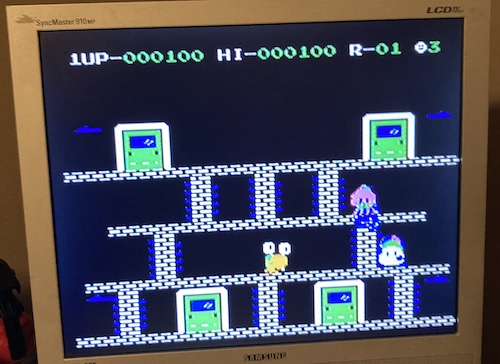
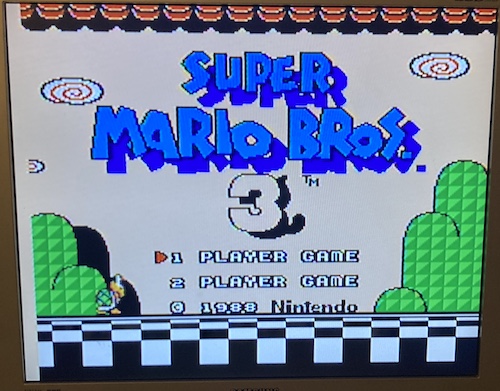
I ran to get a controller, and was rewarded with some actual functionality. I was able to play Door Door and Mario 3. Not well, but that’s not the system’s fault.
The audio didn’t sound great, with a lot of buzzing and clipping, but I was testing the boards completely loose on my desk and with an AliExpress flash cart hanging half-inserted onto the bad 72-pin connector2. Importantly, that wasn’t part of my job: I was here to get this thing booting, and move on.
Move on, that is, after some Mario 3.
Conclusion
I am grateful to keegs for the opportunity to play with this cool board. It just wouldn’t be Christmas without a bootleg Nintendo mini-project! Plus, I got some Mario practice, which will come in handy when I have to help my brother and some random girl beat a kid with a Power Glove.
Repair Summary
| Fault | Remedy | Caveats |
|---|---|---|
| Video has bizarre noise and rolls | Re-pin AV PCB cable so that ground is not driven by right audio and video does not drive left audio | Audio quality is not great, potential damage? Not fixed at this time. |
| Cartridges are not reliably booting | Aftermarket 72-pin connector is crap, get another 72-pin connector |
-
This microphone is actually installed into the motherboard, in the form of an adorable tiny through-hole condenser mic. I didn’t get a chance to try out how well it works, but the idea of screaming into my NES’s open cartridge slot to kill my foes in Zelda is a funny one. ↩
-
I am told the 72-pin connector was replaced with another Amazon aftermarket part later, and it “works great” now. ↩